
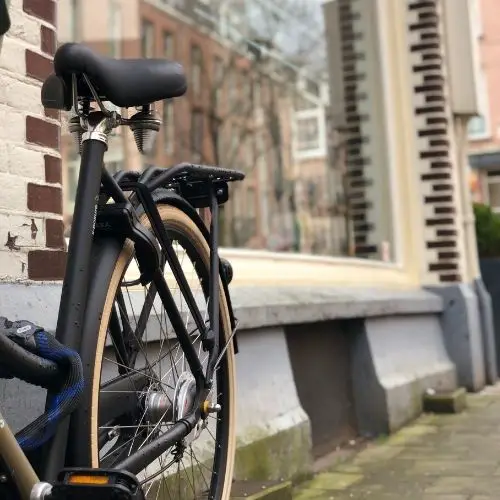
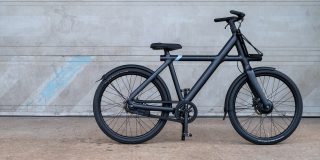
If you use a touring bike, BMX bicycle, or reclining bike, the wearing of the parts will inevitably result in problems. One job you must understand how to do is adjust handlebars to maintain the bike in good shape and keep you secure.
What Causes the Handlebars on Your Bike to Continue Moving? Poor connection between the handlebars and the stems is the prevalent cause of handlebars slipping. It causes slippage, which is not only inconvenient when cycling but potentially harmful. The BMX bicycle’s handlebars may move forward unexpectedly, resulting in a collision.
These will be the causes why the bicycle’s handlebars constantly moving:
- Paint particles have accumulated in the clutch on the handle, obscuring the metal pieces and diminishing their hold
- The stem is adjusted wrong, causing the handlebar faceplate to hold the handlebar unevenly. The handlebars may potentially be crushed as a result of this
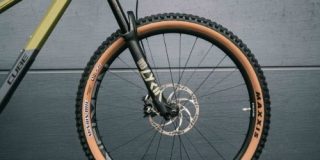
- The bars of the bike have been squashed, and its form has been changed by round into oval-like, limiting friction between the bars and the saddle. The thread on the bars is removed, leaving no true connection for the handlebars to grasp.
Tightening Bicycle Handlebars
If you’ve ever ridden a bicycle with floppy bars, you understand how unsettling it is to feel out of control, specifically when racing downhill. Since the handlebars allow you to control the bicycle, you must act fast if they are not correctly secured.
Whenever the headset nuts weaken with time, you may hear a whirring noise. You can notice unsteady steering if this occurs.
Apply the front brakes and bounce the motorcycle forward to backward to see if this is the case. When doing so, listen for any clunking or rattling from the handlebars. If this is the case, the bicycle handlebars will need to be tightened.
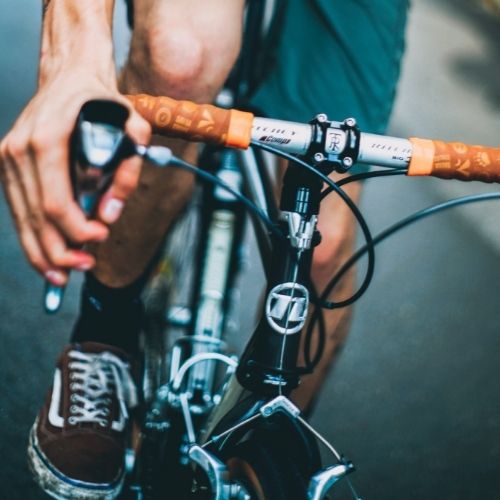
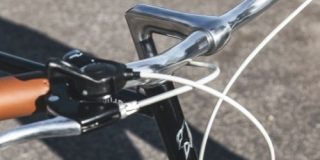
Using a hex screwdriver, remove the two parallel pinch screws on the stems. It’s now time to secure the headset cover screw after these have been loosened. It could take a few attempts to find the proper tension. However, once you’ve done so, you’ll need to replace the side screws you removed at the start of the operation.
The final stage before hitting the bike is to double-check the bars for stiffness. As if you’re preparing to get on the bicycle, pull it up. Try to move the handle sideways while holding the front tire between the legs. If the handlebars move and your wheel doesn’t, you must release the side screws and then twist the middle bolt, as per the manufacturer’s directions.
How to Take Care of the Handlebars?
More width provides more grip and direction, but it reduces your aerodynamic efficiency. Handlebars must be approximately shoulder width, and flat bars must be what you’re good with.
Switching from drop bar with flat bar is expensive since the brakes and gear controls must be replaced. Drop bars don’t lock the fingers in one place, so you have no issues. If you want to boost comfort, use cork. Disconnect the bars and wash them. Examine the form of the handlebar’s core for symptoms of crushing, ovalization, or threading loss.
A simple option is to scratch up that particular varnish on the handlebars and stems’ points of contact with sandpaper to provide the objects more traction. It is necessary to tighten the bars to avoid accidents.
- Bicycle Handlebars: Why are they so low?
- Why would you want a shorter bike stem size?
- Here’s how to Know what Handlebar Rise You need for Mountain Bikes
Frequently Asked Questions
Just like any kind of bolt, you can easily over tighten the bolts holding the handlebars to the stem. You can strip them out, or damage the heads of the bolts if you tighten them too much. As for damaging the handlebars, you technically can damage them by over-tightening, however you will more than likely damage the bolts before doing this.
The best way to tighten handlebars, especially on-the-go is with a good bicycle multitool or a simple allen wrench. I would not go on any bicycling trip without one of these tools to make sure you can tighten up any bolts on the bike, not just the handlebars (stem).
Bike stems are built specifically to go one direction, however with a little imagination you can easily flip it over. If the stem is meant to drop down, this means that it will now go upwards, and the other way around.
Conclusion
Inspect the clamp on the bike stem to see if it has a simple pinch-style bolt or a couple of bolts supporting a detachable faceplate. Bicycles may feature the four-bolt faceplate.
The unpleasant sensation of the handlebars going forward instead of riding is familiar to experienced BMX cyclists. Beautifully built, sturdy handlebar grip bolts prefer to keep nice and snug for trips, even over rough area. However, if you have a collision or incident, you can use the key set to repair an the handlebars.


