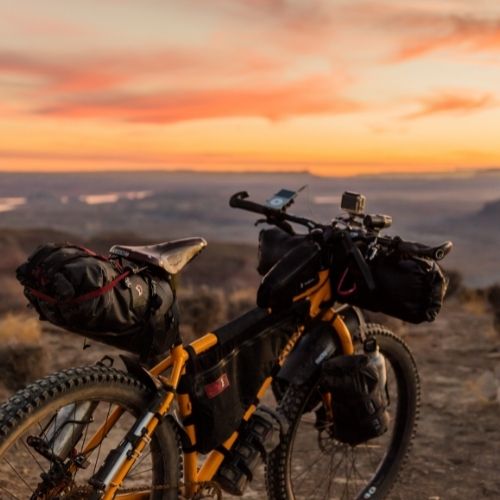
Bikepacking is a distinct style of bicycle touring in which riders normally move lighter than with standard racks and panniers while using rackless bag systems. Touring with bikepacking packs enables riders to navigate rugged terrain quickly, such as single mountain track or rough four-wheel drive routes.
Bikepacking will vary from a leisurely overnighter to a 2800-mile dirt road trip, from a technically demanding 500-mile race on the Colorado Trail to an 4200-mile tour along the TransAm highway.
Bikepacking is essentially backpacking on two wheels. You’re spending several days in the jungle, but at least one night. In comparison to backpacking, bikepacking is significantly different in two ways: you’re cycling, not walking, which allows you to travel even larger distances every day.
A massive backpacking day may cover 20 miles; a massive bikepacking day may cover 40-100 miles. This is ideal if you wish to visit a wide region but do not have a week or two off work or if walking at a slower speed is too slow for you.
The most significant distinction is that you are unable to bear however much weight. Traditional backpacking configurations (not ultralight) will weigh up to 40 pounds. There is no way you can use successfully mountain bike with 40 pounds of gear on your bike and back. Therefore, once you go bikepacking, you are contributing to some extent to the ultra-light ethic.
Bikepacking further distinguishes itself from conventional cycling tourism in two significant ways: One, the weight problem once again – while your bike can comfortably support 60 pounds of gear, you cannot ride singletrack over an extended period of time while carrying so much weight.
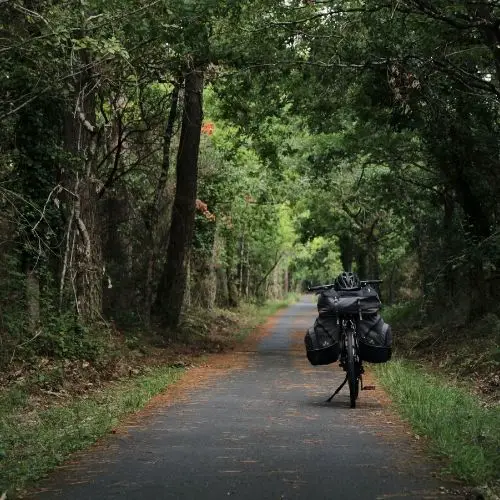
Standard touring necessitates rack-mounted bag structures, with front and rear panniers being the most popular configuration. Rackless bag solutions are used in bikepacking. These bags are usually lighter, less capacious, and more in keeping with the form of the bike than panniers, allowing for easier navigation on narrow paths.
What equipment is needed for bikepacking?
In comparison to backpacking, bikepacking gear configurations must be relatively light. Keep the weight to a maximum of 20 pounds, not counting food and drink (and, obviously, the bike itself). Getting the weight down to less than 12 pounds is desirable but still very costly. Bikepacking equipment is classified into many subcategories: bicycles, bags, clothing, shelter, and extras. We’ll examine them one by one.
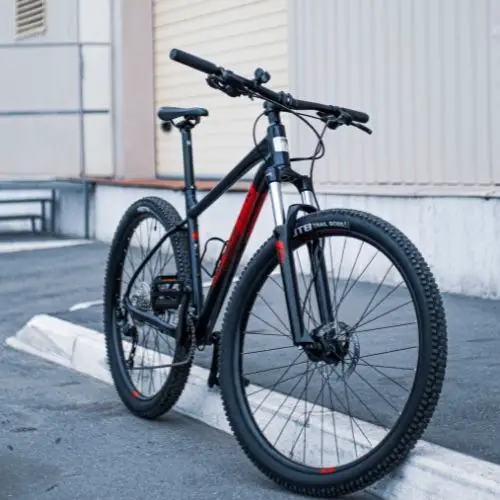
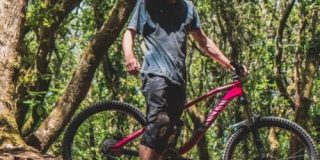
Are you a mountain biker? True? Then you’re ready – at the very least to attempt bikepacking. If you decide you like bikepacking a great deal, you can find yourself searching for something that works exceptionally well for your purposes.
There are no hard-and-fast guidelines when it comes to bikepacking (or anything bikepacking, really). Task one – ensure that you can trust your bike mechanically. You’ll be stranded in the middle of nowhere, with no obvious route out. Breaking anything will be inconvenient at best and a potentially risky situation at worse. The second goal is to ensure that you are safe in your vehicle.
Two hours on local trails is nothing compared to cycling for at least six hours a day on several days. Apart from these big checkpoints, when it comes to bike selection, easier is usually better. Though many bikepackers choose hardtails due to their lower risk of breaking (and, interestingly, more space for bags than most full-sus frames), a full-suspension bike will save energy in the long run simply by enabling you to sit down over rugged terrain. Simply ensure that you manage it thoroughly.
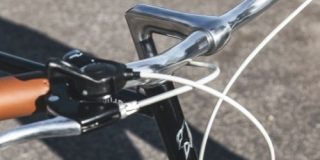
You’ll need a means of transporting the equipment out there. The least weight you have on your back, the healthier – certain people will go without a backpack entirely. The majority of riders wind up carrying a frame case, a handlebar bag, a seat bag, and a hydration pack-style bag on their back.
Frame bags (like this one) allow efficient use of the room inside the tubing of the frame. They come in an infinite variety of sizes and shapes… there are simple bags that suit most frames, and you can order or create personalized bags to fit your frame perfectly.
Handlebar bags are ideal for transporting long, thin objects such as tents/bivys, clothing in a stuff sack, or in some instances, sleeping bags. This one right here is an awesome option for a decent price!
Seat bags are usually secured to the seat post and saddle rails and are ideal for stuffable items; the more compactly they are filled, the less they sway. Additionally, there are smaller accessory bags that work in different locations to increase storage. If you are on the hunt for a good seat bag, this might be a great option.
Using the right clothing
This must be done correctly! Too much will use all of your carrying capacity and weigh you down; too little will leave you cold, muddy, or both, which is a dangerous combination in the backcountry. You ought to be prepared for any realistic environmental scenarios that can occur during your time out. Consider the hottest temperature you can imagine, the coldest; the wettest.
One feature you absolutely must have is dependable rain gear. One feature you do not need is several changes of clothing. You’ll get to decide what you can deal with, just remember that this is not a runway display. You would feel filthy and odorous, and yeah, you would have to re-wear the same pair of shorts. Rain gear is critical unless you live in the Sonoran Desert. Purchase a durable, breathable rain cover. Rain trousers are very convenient to have (even cheap ones keep you dry and pack small).
It’s a smart idea to waterproof your hands in every way – damp hands get cold! Though waterproof gloves are an option, pack thin, and block out the weather. One element that can never remain dry is your feet. Simply anticipate seeing damp feet as it rains. Cut your rain trousers to mid-calf length – your feet will be soaked already, and this will hold the pants out.
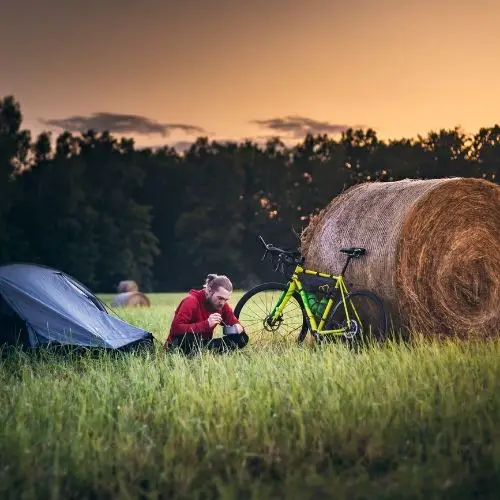
What people use for shelter spans the gamut. On one end, there’s the guy sleeping under a silnylon tarp; on the other, there’s the guy sleeping in full-on mountaineering tents. Somewhere in the center is ideal – a three-season bivy sack or a one-person ultralight shelter.
Most people use comparatively light sleeping bags – 20 or 40-degree bags are common for summer bikepacking trips in Colorado’s high country. Sleeping pads are beneficial in terms of insulating you from the earth. Reflectix water heater insulation, cut to size at a hardware shop, fits great and is really light, though a little bulky.
Automobile windshield sunscreens often fit well and are very affordable!
What repair or replacement items do you need?
This is all up to you! Bring some equipment and replacement bike parts with you. You’ll need tubes, a repair kit, tape, a pump, and a multi-tool. Do not hesitate to apply chain lube! Consider tire boots, a couple of additional nuts, extra brake pads, a spare cleat, or a spoke.
Although you cannot carry anything, you can make informed choices on what you believe you would possibly need out there. Having the right combination will imply being able to escape danger without being overburdened. Some people carry portable stoves for cooking hot meals, as well as camping dishes and utensils. A compact toiletry package is essential.
A GPS unit you are acquainted with is very useful, but it is not necessarily a replacement for charts. A simple medical bag, as well as a small headlamp, is self-evident. A tiny taillight and a more efficient headlight are ideal for longer journeys, racing, or some other situation where you’ll be spending a lot of time traveling on roads or through the woods at night.
Self-Care
Three points will be discussed here: pacing, vigilance, and hygiene.
If you’re going to be out riding your bike for many days, you want to ensure that you can complete the task at hand. Clearly, you cannot continue riding at the same speed that you can for two to three hours. Slow back, take in the sights and avoid allowing the heart rate to reach the red zone. Slow and steady wins the race!
Similarly, you can also be a bit more careful professionally than you normally are. It’s one thing to clean up a tricky section when on a trail in town; it’s quite different from taking a chance on something you’re not confident about out in the middle of nowhere. And if you are commuting with another person, it can take an extremely long time for support to come if you are seriously injured.
Hygiene is the one topic that everybody asks about but rarely discusses. You simply ought to understand the distinction between good and poor mud. Your body will not disintegrate if it is coated in dirt and sunscreen for many days. However, if you don’t take care of the nether regions, it’s almost difficult to sit down after only a day or two in the saddle, and if poor signs go unnoticed, you might actually wind up in the surgical space.
To begin, do not plan to go out and complete an all-day epic if you have never spent more than three hours in the saddle. Once you’re prepared for multi-day tours, make a habit of cleaning yourself down there each night before sleeping. Baby wipes are ideal for this purpose. For certain users, chamois cream acts well as a friction reducer throughout the day. In Idaho Springs, Colorado, Fall River Botanicals produces a thin salve named Geronimo that works wonders.
Overnight, air out the shorts or bottom-half skin touch coat. Your feet are the other area where you’ll experience discomfort, especially if you’re doing serious hike-a-bike, and even more so if it’s regularly raining. Maintain a pair of dry socks at all times, and before bed, brush your feet and put on those socks. When out of the damp and abrasive shoes after a moment, your feet can feel brand fresh in the morning!
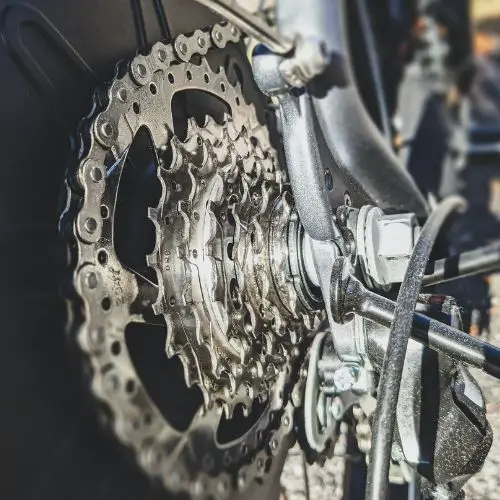
- Why do bikes have so many gears? And how many do you really need?
- Here is what a bicycle sliding dropout is, and do you need one?
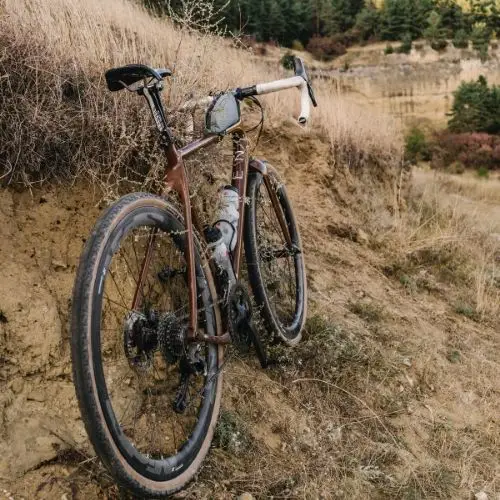
- Do You Need a Gravel Bike: The Pros and Cons of Adventure Bikes
Food is important
Food is fairly straightforward. It must be appetizing, as light as practicable, able to withstand a variety of temperatures, and be willing to be squashed… on second thinking, developing bikepacking food is far from easy.
Here are a few tried-and-true suggestions: Nuts, dried beans, jerky, bagels, tortillas, peanut butter and jelly sandwiches, salami, parmesan, apples (damn the water weight! ), Snickers bars, M&M’s, and granola, among others. If you have a grill, you can add pasta, quinoa, and more to this list.
The disadvantage to bikepacking is that, due to the small amount of room available, you have to resupply more often than typical backpackers, who would trudge around with over a week’s worth of food on their back. This also ensures that while you’re in town, you can catch a sub sandwich or burrito to break up the trail mix routine.
Obviously, you’ll need a ton of water. You cannot hold sufficient water between towns, at least not in several areas. You’ll need a water filter to drink from natural springs along the way.
What race systems are there?
Yes, bikepacking races exist. Almost anything that qualifies as a bikepacking race is entirely self-supported – no arranged assistance of any sort. To get underway, search for the Colorado Trail Race (CTR), the Arizona Trail Race (AZTR), the Grand Loop, the Coconino 250, the Tour Divide, or the TransAm.
Conclusion
Enjoy it. It’s about independence, discovery, adventure. Don’t think of bikepacking as a race, but a journey to relaxing and being out in the open space. It’s also a great activity to do with your friends and family. With the right equipment and preparation, you are on your way to a beautiful ride.


